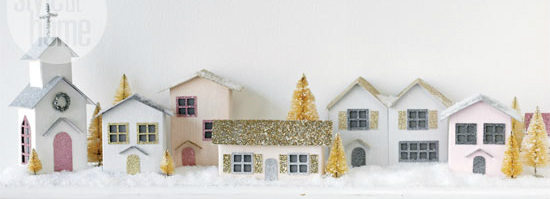
With Christmas fast-approaching we are busy creating decorations for our holiday parties! In our search for inspiration we came across this fun vintage-style miniature village from Style At Home. These DIY paper houses would make a beautiful display on any mantle, setting a perfect holiday tone.
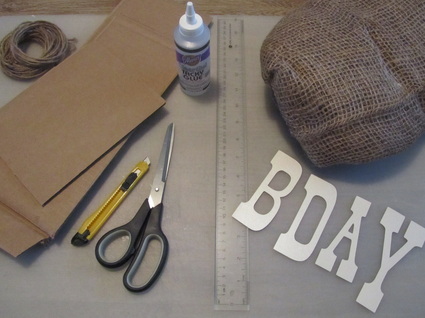
To create this cute town for your own holiday gatherings you will need:
To build your houses:
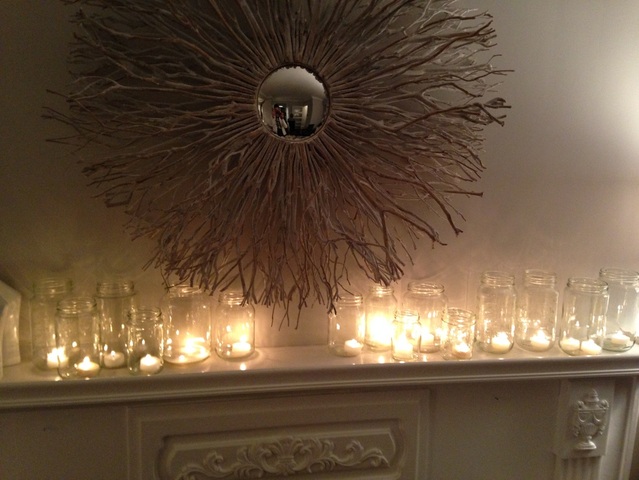
For a cozy ambiance a warm glow could be added to the houses by placing a flameless/LED candle or Christmas lights inside.
What are your favorite Christmas decorations?
Love,
Ashley, Jen and Alessandra
To create this cute town for your own holiday gatherings you will need:
- Acrylic paint & paintbrush
- Mini cereal boxes or other small cardboard boxes
- Pencil & ruler
- X-acto knife
- White craft glue
- Fine crystal glitter
- Vellum or tissue paper
- Double-sided tape
- Glitter card stock or scrapbooking paper
To build your houses:
- Paint a mini cereal box and let dry.
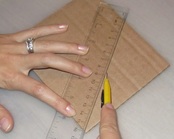
- Using a pencil and a ruler, mark the roofline at the desired angle, holes for the windows and slits for the door awning on the box.
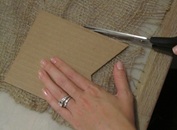
- Carefully cut them all out using an X-acto knife, making sure not to apply too much pressure on the box.
- Brush the entire box with craft glue and sprinkle with an even coat of fine glitter. Once dry, delicately shake off the excess glitter.
- Cut out pieces of vellum or tissue paper slightly larger than the window holes using an X-acto knife and tape them to the inside of the box with double-sided tape.
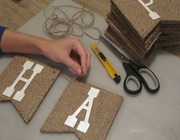
- Measure the top of the box and mark the measurements of the roof on the back of the glitter paper, ensuring that it’s ½" larger on all sides. Do the same for the window frames, allowing for a slight overlap.
- Measure the slits of the door awning and mark the exact length and the width (about ½") on the back of the glitter paper. Do the same for the door and shutters (optional), making them proportional to the size of the box.
- Cut out all the pieces using an X-acto knife and glue to the house.
For a cozy ambiance a warm glow could be added to the houses by placing a flameless/LED candle or Christmas lights inside.
What are your favorite Christmas decorations?
Love,
Ashley, Jen and Alessandra